US Retro Gaming Revival: Build Your Dream Arcade Under $1000 in 2025
US Retro Gaming Revival: How to Build Your Dream Arcade for Under $1,000 in 2025 explores the nostalgic resurgence of classic arcade games and provides a practical guide to creating an affordable home arcade setup, focusing on cost-effective strategies and readily available resources to capture the spirit of retro gaming.
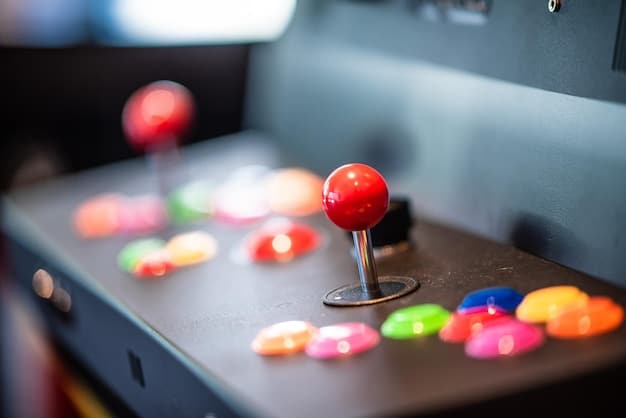
The allure of the arcade is undeniable. The flashing lights, the iconic sounds, and the pure, unadulterated fun it offers have captivated generations. The US Retro Gaming Revival: How to Build Your Dream Arcade for Under $1,000 in 2025 is booming, making it easier and more affordable than ever to bring that magic home.
Reliving the Golden Age of Gaming
Retro gaming is more than just a hobby; it’s a cultural phenomenon. The pixelated graphics and simplistic gameplay of classic arcade games evoke a sense of nostalgia and simpler times. Building your own arcade is a way to reconnect with those cherished memories.
The Appeal of Retro Gaming
Retro gaming’s charm lies in its accessible gameplay and the emotional connections it fosters. These games often provide a sense of immediacy and challenge that is lacking in many modern titles.
The Rising Popularity of Home Arcades
As technology evolves, so does our desire for tangible experiences. Home arcades offer a way to physically engage with classic games, creating a unique and immersive gaming environment.
Here are some elements that contribute to the popularity of home arcades:
- Nostalgia: Reconnecting with childhood memories and favorite games.
- Unique Experience: Immersive and tangible gaming environment.
- Customization: Tailoring the arcade to personal preferences and style.
The revival of retro gaming and the desire to own a piece of gaming history make building a home arcade an appealing and fulfilling project for many enthusiasts.
Planning Your Arcade: Setting a Budget and Scope
Before diving into the exciting world of arcade construction, it’s essential to create a clear plan and budget. This initial stage will help you define your goals and ensure you stay within your financial limits.
Defining Your Needs and Preferences
Start by identifying the types of games you want to include in your arcade. Consider your favorite genres, the number of players you want to accommodate, and the overall aesthetics you’re aiming for.
Creating a Detailed Budget Breakdown
Allocate specific amounts for each component of your arcade, including the cabinet, monitor, controls, and software. Research prices and options to get an accurate estimate of your total costs.
Factors that should be considered when preparing your budget:
- Cabinet Materials: Wood, laminate, or pre-built options.
- Hardware: Monitor, speakers, and Raspberry Pi or PC.
- Controls: Joysticks, buttons, and trackballs.
- Software: Emulators and game ROMs.
Careful planning and budgeting will help you avoid overspending and ensure a successful arcade build.
Finding Affordable Components: Where to Look
One of the keys to building an affordable arcade is knowing where to find quality components at reasonable prices. Several options are available, from online marketplaces to local suppliers.
Exploring Online Marketplaces
Websites like eBay, Craigslist, and AliExpress offer a wide range of arcade parts and equipment. Compare prices and read reviews before making a purchase to ensure you’re getting a good deal.
Utilizing Local Resources and Community
Check with local electronics stores, woodworking shops, and community forums for potential deals and resources. Building connections within the retro gaming community can also provide valuable insights and support.
Some places to find affordable components include:
- Online Auctions: Bidding on used or refurbished parts.
- Local Classifieds: Finding deals from individuals selling arcade components.
- Maker Spaces: Utilizing shared tools and equipment for building your cabinet.
By exploring various resources and leveraging community connections, you can significantly reduce the cost of your arcade build.
DIY Cabinet Construction: Building the Foundation
Constructing your own arcade cabinet is a rewarding and cost-effective way to personalize your project. With basic woodworking skills and readily available materials, you can create a sturdy and visually appealing foundation for your arcade.
Choosing the Right Materials and Tools
Select materials that are durable, easy to work with, and within your budget. Common options include plywood, MDF, and particle board. Gather essential tools such as a saw, drill, screwdriver, and measuring tape.
Step-by-Step Guide to Cabinet Assembly
Follow a detailed plan or template to guide you through the assembly process. Cut the panels according to your design, assemble the frame, and reinforce the structure with screws and glue.
Steps for assembling your own Arcade:
- Planning: Choosing a design and gathering materials.
- Cutting: Assembling the wooden frame.
- Assembly: Reinforcing structure with screws and glue.
Building your own cabinet not only saves money but also allows you to customize the design and dimensions to fit your unique needs and preferences.
Selecting and Setting Up Hardware and Software
Choosing the right hardware and software is crucial for replicating the authentic arcade experience. Emulators and game ROMs bring the games to life, while selecting the right monitor and controls enhances gameplay.
Choosing a Monitor and Audio System
Consider using a used CRT monitor or a modern LCD screen with retro-inspired settings. Pair your monitor with a quality audio system to recreate the arcade’s immersive sound effects.
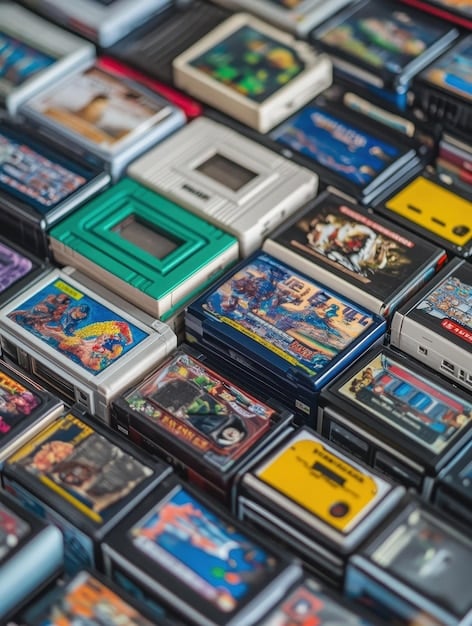
Installing Emulators and Game ROMs
Download and install emulators that are compatible with your chosen games. Acquire game ROMs from reliable sources and follow the instructions for proper installation.
Things to consider when selecting hardware and software:
- Compatibility: Ensuring hardware and software work together seamlessly.
- Performance: Choosing components that can handle the demands of retro games.
- Authenticity: Adjusting settings to recreate the look and feel of classic arcade machines.
By carefully selecting and configuring your hardware and software, you can ensure an authentic and enjoyable retro gaming experience.
Customization and Artwork: Adding Personal Touches
Adding custom artwork and personal touches to your arcade cabinet is a great way to make it truly your own. From custom marquees to unique control panel designs, the possibilities are endless.
Designing and Applying Custom Artwork
Create or commission custom artwork that reflects your personal style and favorite games. Use adhesive vinyl to apply the artwork to your cabinet for a professional finish.
Personalizing the Control Panel and Aesthetics
Choose control panel layouts and button configurations that suit your gameplay preferences. Add decorative elements like T-molding, LED lighting, and custom decals to enhance the overall aesthetics of your arcade.
To add your own touch:
- Artwork: Create unique decals.
- Design: Design a unique control panel.
- Aesthetics: Add LED and decals for extra flare.
Customization is a way to make an arcade machine unique, expressing your own style and love for retro gaming.
| Key Point | Brief Description |
|---|---|
| 🕹️ Budget Planning | Allocate funds for each component to stay within budget. |
| 🛒 Affordable Parts | Find deals on marketplaces like eBay, Craigslist, and AliExpress. |
| 🔨 DIY Cabinet | Build your cabinet with basic woodworking skills for customization. |
| 🎨 Custom Touches | Make it your own with unique artwork and personalized controls. |
FAQ
▼
The most affordable way is to build your cabinet using recycled or low-cost materials like plywood or MDF. Utilize online tutorials and templates, and source components during sales or from local community forums where you might find used parts.
▼
Building a MAME cabinet can range from $500 to $1,000, depending on the materials and components you choose. Cheaper options involve using affordable monitors, DIY controls, and a Raspberry Pi for emulation to keep costs down.
▼
A 19-inch to 21-inch monitor is typically ideal for an arcade cabinet, balancing screen real estate with cabinet size. CRT monitors can provide an authentic retro look, while LCD screens offer modern clarity and energy efficiency.
▼
Yes, you can use a TV for an arcade cabinet, but consider the input lag and viewing angle. Ensure the TV has the correct aspect ratio and inputs (HDMI, VGA) for connecting to your emulator or gaming system for the best experience.
▼
The most popular software you need to use for ROMs is RetroArch. This front-end is available on practically all operating systems and provides an amazing, user friendly UI in which to navigate games.
Conclusion
Building your own retro arcade for under $1,000 in 2025 is an achievable and fulfilling project. This article provided you with the most important aspects for achieving this goal. With careful planning, resourceful sourcing, and a bit of creativity, you can transform your gaming dreams into reality, enjoying the timeless fun of classic arcade games from the comfort of your home.


